
Showing posts with label Painting Chizz. Show all posts

Wednesday, January 2, 2013

2012 In Review

Well kids, here we are at the beginning of 2013. It is utterly mind bottling how fast time flies, but even more so when you're chasing crazy lunatics around your house. Let's kick off 2013 with a quick look at the awesomeness we created in 2012. It's always a good motivator to see that you did more than just sit on the couch, watching Friends re-runs, eating Cheetos. 

Here we go:

In JANUARY, we both started Etsy shops
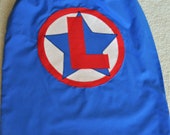
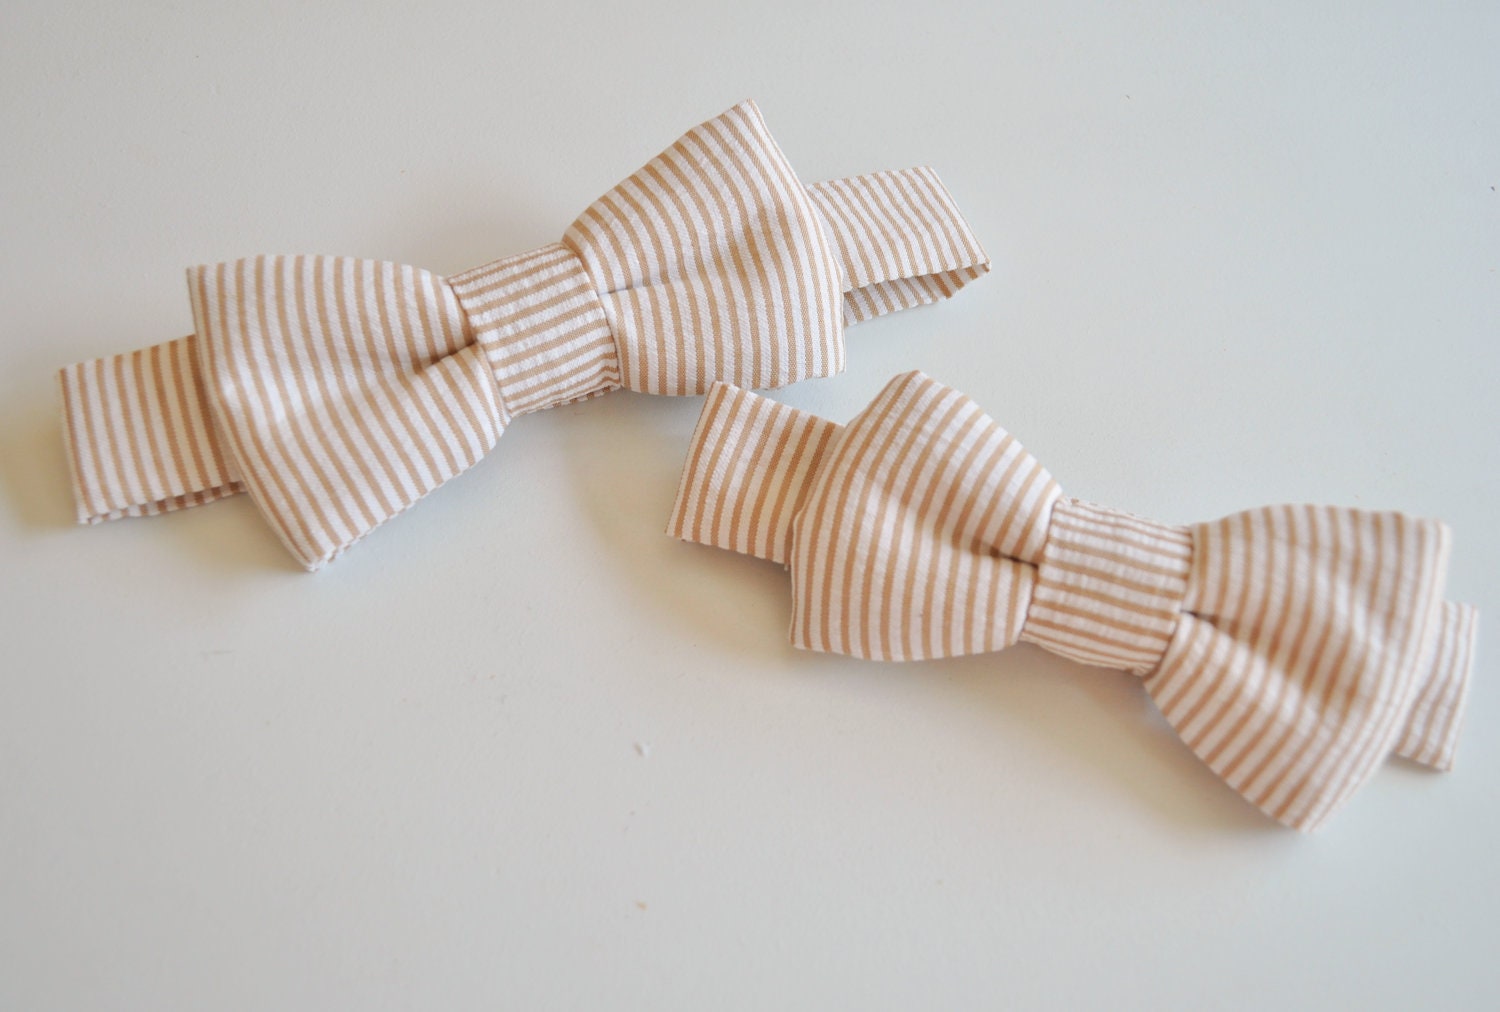
Lani has LEMON SQUEEZIES:


Super cute, right?! From bow ties to capes, she's got you covered! I don't know about you, but I need a turban headband for the days when my bangs need some taming.


An then there's PAPER MONKEY:


Need a cute paper banner or book page apple to spruce up your decor? Check it out! The paper flower clips are great for a little girl's hair, or your blazer's lapel.


FEBRUARY it was time to get our butts in gear:
Lani started her Master Bedroom makeover with a coat of paint on the walls.

And I did a little refreshing of our Living Room throw pillows by making a few new pillow covers:


MARCH


APRIL
Lani threw Jagger a very colorful birthday party:

And we made Will an Iron Man trike for his birthday:


MAY
I tackled a friend's living room wall with a picture frame collage. I think it's my favorite one I've done.


JUNE
We got painty with a new wall color in the living room:

And Lani got crafty with some adorable teacher's gifts for the end of the school year:


JULY
Lani got down to the nitty gritty and tiled her Master Bathroom floor:
You can check out the process here, here, here, and here.


AUGUST was a big month for us. Lani and I both went back to work full time. Talk about a big adjustment for us and our families and our DIY schedules. HA! But the day before I started my new job, I decided to paint my Master Bathroom:

And Lani's Master Bedroom revamp kept on truckin' with this fab rug upgrade:


SEPTEMBER was a time for more Master Bedroom and Bathroom upgrades. Check out Lani's progress:
A little Martha Stewart Garbadine goes a long way:


OCTOBER was a busy month, and maybe a little too busy because we didn't have much going on over here on the blog-front. We did have our first trip to the ER for a broken finger:

You can definitely count on us to keep it real around here. First trip to the ER, first cavity fillings (yes, PLURAL fillingS), and 1st day at preschool. Talk about a traumatic parenting month...


NOVEMBER
We got a lesson in accessorizing:

I tackled another subway art:

And painted my kitchen...again:


DECEMBER was very merry for us from a Pottery Barn NOEL sign knock-off:

To a super adorable Hot Chocolate Bar:

And we finished up the year with a yarn pom wreath:


You can definitely expect more awesome projects from us! Happy New Year!

XOXO,   
&

Thursday, November 15, 2012

Good-Bye Blues

When I painted our kitchen the first time, I wasn’t quite sure about the color. It was bright and cheery, but it didn’t quite go with our vibe. Then we painted this corner hutch, and the blue walls slapped me in the face every time I went in the kitchen. When our living room became a lovely shade of Bay Leaf green, it was crazy-clear that the kitchen needed a fresh less-clashy coat of paint. Here’s a quick reminder of how it looked before:
Not quite the slate blue-grey I was going for…

So a day or two before I started my new job, I figured the best way to blow off some stress-steam was to paint the kitchen. Totally normal, right? After I taped everything off, and Will was busy watching a movie, I got this solo painting party started:
DSC00742
Buh-bye blue! Hello Driftwood Grey! Yes, I used the same Driftwood Grey I used in our Master Bath.

This color goes on like buttah. Love it. Thank you Martha Stewart!
So on with the painting…
DSC00749It’s already looking better with my corner hutch cabinet.

Ok. Enough with the progress shots. Here’s some before and afters:
  DSC01112

Before                                                       After
  DSC01118

DSC01107
DSC01109
DSC01143

DSC01118
DSC01132
DSC01131

And here’s my cute little fall centerpiece:
DSC01122

Will thoroughly enjoyed my apple-pumpkin snowman, and then he dismantled it and took a bite out of the apple. Centerpiece meets healthy snack? Sure… why not?!

What are you painting?

signature

Wednesday, November 14, 2012

Wood Subway Art–Round Deux

I’m going to continue catching you up on how much of a slacker I am… Next in the series of Slacktastic Fun is the subway art I made for my mom. It’s terrible to admit that this was almost a year in the making (I talked about it in my New Year’s Resolutions…). A YEAR! Ridiculous. I had thought I’ll make it for Mother’s Day, and then that came and went. Then I thought I’ll make it for her birthday… and I kind of did. I was just a month, or two late. #WorstDaughterEver

Anyways… back to brass tacks. My mom loved the one I made for Hubby for our anniversary. Who are we kidding? It was basically for me, but I disguised it as a gift for him.
[insert evil laugh here]
So I figured I’d take a cue from the one I’ve already made, but make it different. Makes total sense, right?

I followed the same basic principles as I did when I created my version. I used the same wood and varied plank widths, I just had the nice gents at Home Depot cut them down to a different size. After measuring the spot where the subway art would live, I figured it should be 30”w x 42”h.

I followed the same steps I did before. I sanded each plank and added some irregularity to them by rounding some corners and creating a few waves.
IMG_20120724_115254

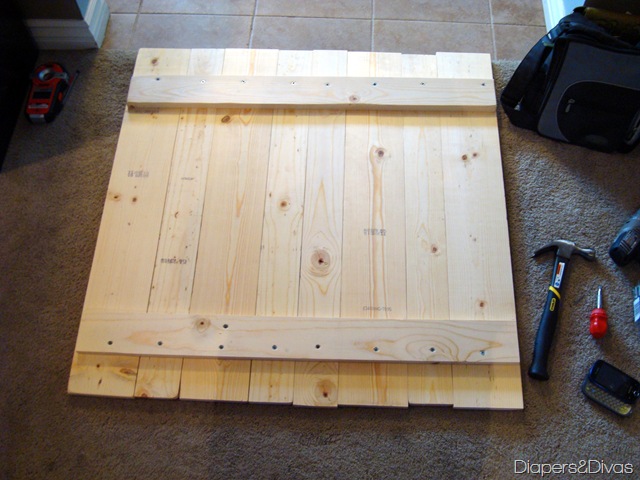
I assembled the planks using 1x2s on the back and lots of screws.

The wood is soft, so to make sure each plank was secure, I busted out the hand-screwdriver, too.

Next it was time to stain.
DSC00437

I used the same Minwax English Chestnut that I used on mine. I’m sure it will be popping up in random projects for a while since I still have at least half of that little tiny can left. It’s a great color and turns this bland white wood into something spectacular.

Then it was time to bust out my Cricut and cut some vinyl letters. I used white Contact Paper (aka shelf liner) that I cut into 12” x 12” sheets and fed through my Cricut. And then it was time to play the arranging game:
2012-09-16 15.03.15

I had a list of 10-12 things that I wanted to make sure were included on the overall board. I began by cutting out some of them and laying them out to check size and shape. Then other little things started to evolve, like using the “a” at the end of Arizona as the “a” in Utah, too, like a crossword puzzle.
And then it evolved some more:
2012-09-16 16.36.20
Some of the things stayed where they were, while others got resized and revamped. It’s definitely a puzzle that you have to work with until it eventually just fits. Very much like the picture frame collages I’ve done, too. (If you’re interested in those, you can check them out here, here, and here.)

Originally, I thought I would put the lettering on the wood and paint the whole piece one color, and then peel off the letters to reveal the dark rich wood tone underneath a la Lani’s Canvas Subway Art. But first, I wanted to see it on the mantel because I wasn’t 100% sure what overall color I should paint it.
2012-09-19 10.04.55

Once I saw it on the mantel, I wasn’t sure I wanted paint it. The wood tone broke up the taupey grey walls and tied in with the furniture… After talking to my sister and texting a pic to Lani, it was decided to just leave it as is. I took it outside and put on 3 coats of clear sealant on to make triple-sure that the vinyl letters stayed attached. In between coats, I came back inside and started installing the wall hanging bracket. By the time the 3rd coat of sealant went on and was dry, all I had to do was slap it on the wall. And then I did a little re-accessorizing while I was at it because I can’t leave well enough alone. Winking smile

2012-09-19 13.21.40

2012-09-19 11.15.36

2012-09-19 13.20.48

Pretty awesome, right?! I love that it’s pretty clean and simple with a little rustic thrown in. My mom is over the moon for it. I’m just sad that it took me so dang long to get my butt in gear and do it.

What have you finally crossed off your To-Do list? Have you lagged on doing something for your mom? Have you created your own version of the subway-art craze?

signature

Related Posts Plugin for WordPress, Blogger...
 

Blog Design by Eedee Design Studios