


Hey, I'm working on limited sleep & patience...it's the best title I could come up with. Bare with me.
This cabinet has been the project that just drags on and on. Let me start by telling you that you don't need a garage to do some DIY painting on your furniture. It would've been extremely helpful, but it can be done without it, as long as the piece you're working on fits on the balcony, like ours did. It was just a pain because our laundry closet is out on our balcony, so there was no doing of laundry while this was in progress. I just had to plan ahead and finish the laundry the day before we started this project.
So here she is, stripped down in all her glory. You can see the back story of her origins here.
It was super handy to take the plywood panels off the back. I could easily get into all of the cracks and crevices.

First up was picking a color... Round 1

And Round 2.

Finally, it was time to go to the Home of the Depot.
I got my primer.

I got some fancy brushes. It was time to invest in some better brushes.

I got my paint. Yes I got a full gallon. I don't know what I was thinking, but now I have extra to maybe use on the kitchen chairs... Those are getting done after the kitchen table. Woot! And since our kitchen cabinets are glossy, I opted for a nice eggshell finish for the paint on the hutch. It will get use, but not a ton of wiping, so I figured a calmer sheen would suffice.

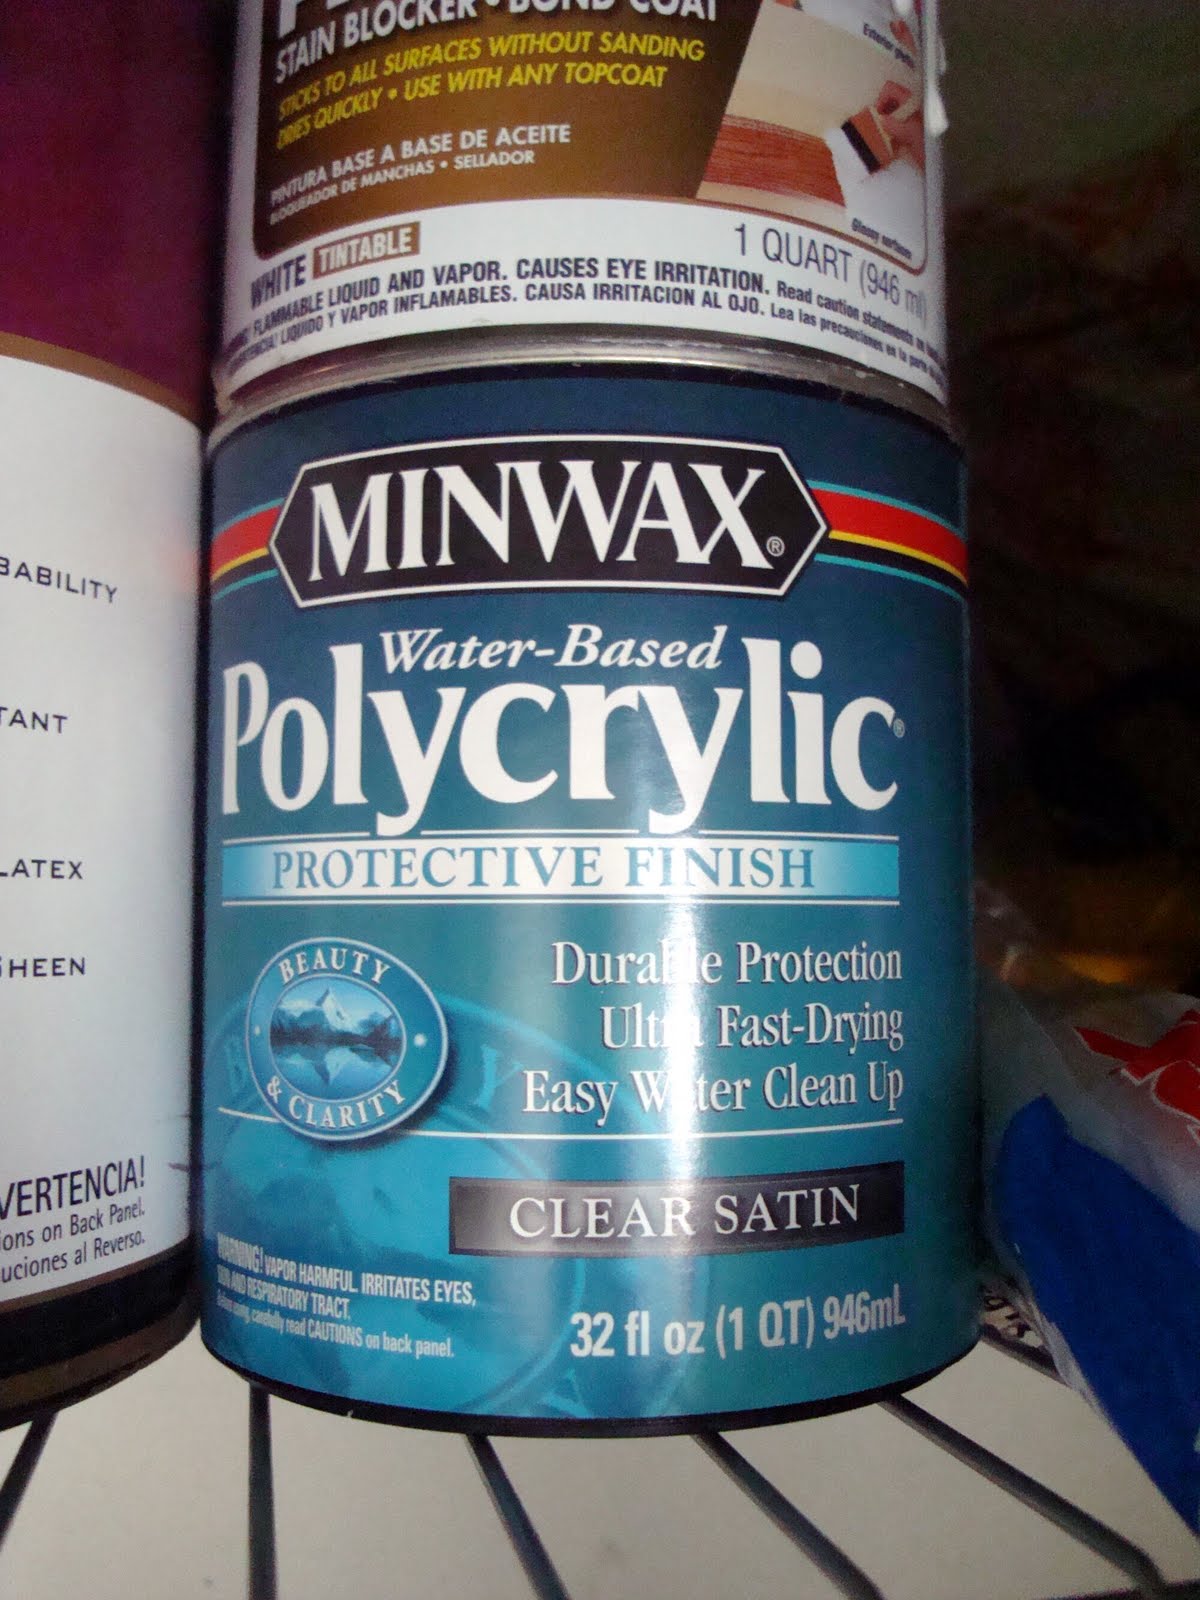
And the clear coat. Yay! Again, satin finish to keep up the eggshell.
Next it was time to shop for knobs. I wanted something cute and different. After cruising the aisles of Homey Depot and Targey, I wasn't thrilled with anything, so I headed to Anthropologie. Round 1 of options...

At $10 each, the ones above were purdy, but then I found the clearance basket... Helloooooo lover!

I saw one of these while peering over the shoulder of a chick riffling through the bargain basket and nabbed it. I kind of shoved her out of the way so I could look for its mate. Sorry lady, a bargain was about to be had! Get out of my way!
Booyah that I found both of these knobs. And I love that they're not all matchy matchy. Major bonus that they were only... wait for it.... $2.95 Each! Ohhhhh yeahhhhhh!
And then I found some super cute things I could only dream of buying since they were all over $100. But they would look SO cute in my new blue/gray/orange cabinet!

I was drooling over this canister but at over $200 bones, it's way out of my league, sister.

I can't quite remember, but I think this guy was the most expensive at around $225. Yowza.

I made my whopping $6 purchase and skipped out of Anthropologie with just my knobs.
The last element was to pick out fabric or paper or something to accent the backing on the cabinet. My lovely friend brought me some wallpaper samples from work. I loved them, but they were just a little too short. I found some fabrics I liked & snapped pics to have the Hubby-Supreme help me decide. I think it helped me narrow down what I might use to recover the seats of our kitchen chairs, too. Lots of fun stuff!

Now it's time to get dirty.
Hubby helped a lot! He sanded the beast down, removed all the backing, doors, old knobs, and tightened all the screws and bolts. He rolled on the primer while I used a brush to get all the tight spots.

We would have more wiggle room if we didn't have a bbq, but hey, we can't very well live without a bbq. That's just crazy talk! Anyways, 2 coats of primer with a light sanding in between, check! (I know, Lani... I forgot to get the tinted primer. I got white. It worked out ok, but if my color was any darker, I would've been sorry. When working with dark colors, get a tinted primer!)

Now the fun part! I love pouring (or in this case, watching the pouring) paint. I just love paint. It's like crack. But crack is wacky, folks... Yep. Wacky.

She's so smooth!

Now let me tell you... This baby was tacky for a while. It was dry, but it was weirdly tacky. I let it sit in the kitchen, drying, for about a week. I put a few things on it and paint came off with it. This helped seal the debate on whether or not we could get away with or without the protective coat. We obviously could not. It was a quick & easy coat. I took the doors & shelves back out on the balcony & left the cabinet in the kitchen while I slapped it on. Actually, there was no slapping. I did 2 very thin coats of protectant. DO NOT SKIP THE PROTECTANT! It's easy, it dries quickly, it's not very stinky, and completely solved the tacky/peely/problematic issues. It also didn't really change the sheen of the paint. Just take care when applying it to make sure it's even. I'm glad I decided to stop whining & being lazy... if you're going to do it, do it right!
This was an interesting, unexpected detour... Why are the screw posts on Anthropologie knobs 3" long?! Insanity! Thank goodness we had a Dremel tool that Hubby could use to chop off the super excess posts. They were hitting the shelves inside! So weird. The sparks were pretty rad though. Remember to always wear eye protection! And only you can prevent forest fires! Need any other safety tips? I'm here all week, folks. Anyways, sparks, Dremel tools, and super long knobs posts are serious business in Hubby's book... while I was singing the Fantasmic song and doing the streamer dance.

Are you ready?
Can you handle this?
Here she is!

Now, let me tell you... I've never been a huge fan of the wall color, and I wasn't super thrilled about the cabinet color next to the wall color. First of all, I don't know how I got such a blue kitchen. I'm much more of a teal girl, but anyways... the wall color isn't ideal, but it works. It has grown on me. I absolutely LOVE the Shale color on the cabinet. Love. L-O-V-E. I'm pretty sure we had a love-at-first-pour moment - see photo above...
The bonus is that I bought a gallon of it. So...it just might happen that one day I pick up a can of white and mix up a much lighter version of the Shale color and slap it up on the walls while Hubby is at work. Just maybe... I'm just sayin'. And then I might see how long it takes before he notices and says something. That's always a fun game.


How cute are those knobs?! I'm so glad I pushed some random girl out of the way to snagged them so I could put them in their perfect new home. Nah...I wouldn't say push per se... It was more of a hip check.

The paper is from Paper Source. I brushed on some Mod Podge on the bare plywood backing & then rubbed the paper on really well to make sure there were no bubbles. It went on pretty smooth.
The only snag(s) in my paper plan were:
a) There were only 3 sheets left when I went to pick it up. 2 in the same dye lot and another one a little lighter. Now that I've told you, I'm sure you can see it.
(b) The paper sheets weren't quite long enough for my plywood backing. I had to seam it. Thankfully, I'm a tad awesome/crazy/neurotic (take your pick), and lined it up pretty well with both the pattern and the shelf inside the top glass doored portion, so you can't really notice it. Yeah, I know. I'm amazing. I also brushed a little more Mod Podge on the seam to make sure it didn't pop up.
And there you have it! My first real DIY furniture painting project! I must say, we did a fabulous job. Stupendous, even! The sanding before and in between coats is key. That made for a super smooth finish. The Floetrol also helped a lot too. I think my advice is that if you're going to do it, do it right the 1st time. Take the time to research what you need and the steps you should take before you walk the plank. And then when you have your list, pick the brains of the people at the Depot. That's what they're there for!
Now this has sparked a full on kitchen furniture redo... Next up is our kitchen table. It's going to be a soft glossy white, with maybe a little shale detail. I don't think it will fit on our balcony though, so ... I don't know how we're going to work that one yet... Then the chairs will get painted. I'm debating on them going shale or soft-white, or maybe a crazy yellow-orange. Apparently I don't my getting slapped in the face by a chair, but a cabinet is unacceptable.
Stay tuned next week when I show you how I accessorize my new kitchen hutch! Exciting stuff!
so so SO Pretty! Love the color of the cabinet and those knobs are PERFECT.
ReplyDeletePlus the whole orange paper makes me SO happy :)
Taña
Wow. You did such a great job on your cabinet. I'm not much of a blue lover, but I agree that the color looks great. Orange is my favorite color so I'm lovin the inside. Thanks for the tips.
ReplyDeletePerfect combo of colors--great job!
ReplyDelete