


 After cruising through the latest Parents mag and Food Network mag, I had a fruit leather recipe to try from each one. And with my giant basket of grapes from Costco about to go bad, it was time to use 'em up and give this a try. Will loves the little fruit leather strips we get from Target. We call them "tasties" in these here parts... I started getting them early in his infant to toddler years because they're a great cheap snack, and they're skinny so you can grab a handful and shove them in your bag on your way out the door. Who doesn't like Fruit Roll Ups or Fruit By The Foot?
Oh, and best part of making it yourself is being able to make it sugar free!
Fruit Leather
Ingredients:3 1/2 Cups Grapes (I used black grapes because they're my new favorite and that's what I had. The Food Network Mag recipe has a great conversion chart for whatever kind of fruit you want to use, here.)2 Tbsp AgaveJuice from 1/2 a lemon
Directions:
Fruit Leather
Ingredients:3 1/2 Cups Grapes (I used black grapes because they're my new favorite and that's what I had. The Food Network Mag recipe has a great conversion chart for whatever kind of fruit you want to use, here.)2 Tbsp AgaveJuice from 1/2 a lemon
Directions:
Preheat the oven to 200. Pluck the grapes and wash them. I also dried them to make sure I didn't have extra water in the mix.

The cup of coffee is key... Gotta make sure you're awake!

Washed and ready to go!
Now it's time to puree your mixture. I actually used my immersion blender, (surprise, surprise), even though you saw my blender out... I had second thoughts, and using my immersion blender means less dishes. That's going to win 9 out of 10 times!

I ran my puree through the sieve, but really didn't need to. It did make it nice and smooth with no skin chunks, but it was definitely an unnecessary extra step.

Yum!

Pour your mixture into a parchment paper lined rimmed cookie sheet and pop it into the oven for 3-4 hours. You want to make sure it's firm and the mixture feels dry. If it's still a little sticky, go 15-20 minutes longer.

Take it out of the oven and let it cool for a couple of hours. I kept touching it and it was still a little sticky. When I left it alone for several hours, it was nice and dry.

Use kitchen shears and cut it up into strips. I made 6 strips, but could have made them skinnier...
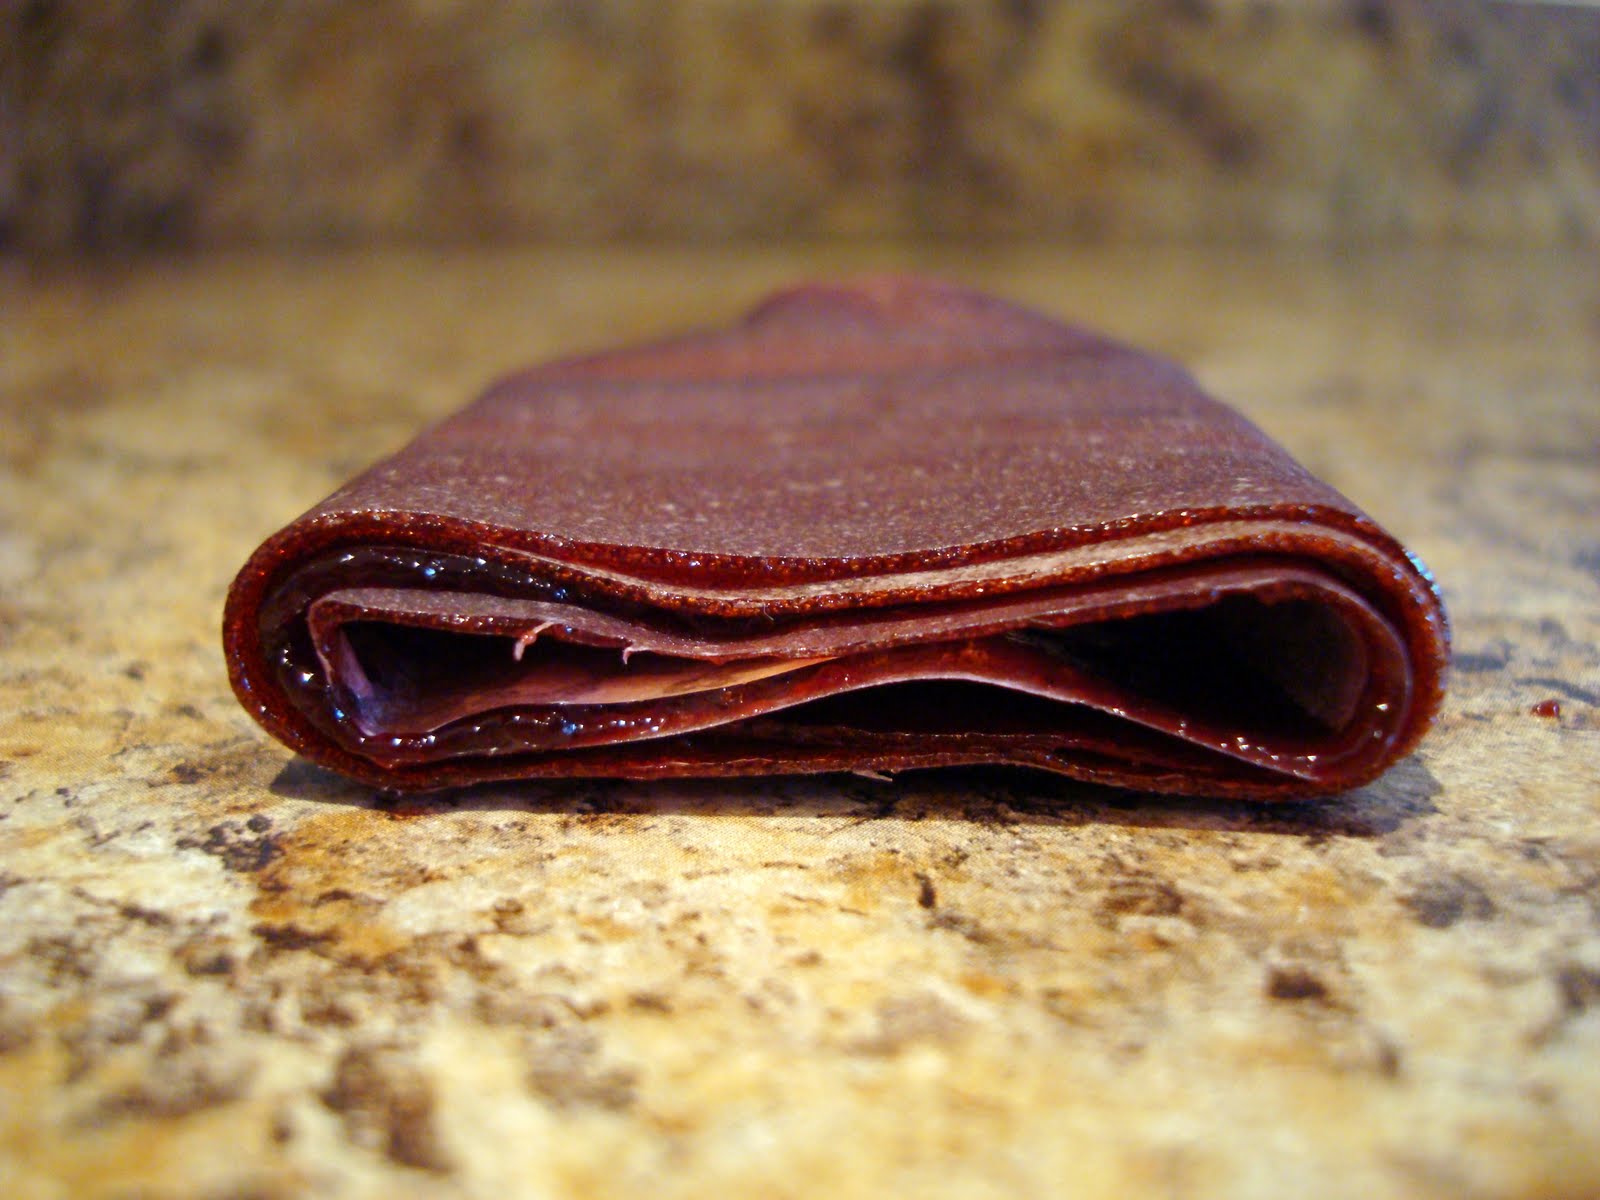
Roll it up!

And put it in a baggie. They will keep for about a week. And yes... I cut 6 , but there are only 5 in this pic... Will and I had to try one! After a bite, he said "More Momma?" so I think it was a hit!
Are you going to give it a whirl? I'd love to hear what flavors you make, or maybe a combo flavor? I'm definitely going to try a couple different ones. Maybe peach?
Are you going to give it a whirl? I'd love to hear what flavors you make, or maybe a combo flavor? I'm definitely going to try a couple different ones. Maybe peach?
No comments:
Post a Comment
We love to hear your thoughts, good bad or random! We love comments of all kinds!