Showing posts with label craft time. Show all posts

Tuesday, September 10, 2013

Tutu Cute!

I definitely think that I have a fabric problem. Like a big one...kind of bordering on hoarder tendencies. I have so many different ones that I just hang onto for no apparent reason. I keep thinking "Oh maybe I'll use this for my shop! Or for a quilt! Or for looking pretty on a shelf! I'll just keep it here for a project that i'll never get too because I may want to use it later for a completely different project." Yes...my mind is a mess...

So when my friend Jacqui sent me an invite for her daughter's second birthday....I decided to put my fabric...and Pinterest...to use (finally!)  Life has been so hectic and busy that I haven't had time to breath let alone crafting and blogging....so it felt good to get my hands in it again!

I took inspiration from this Pinterest pic

Amy Giggles Designs: Fabric Strip Tutu Tutorial


I knew I wanted to do a tutu for sweet lil' Emma and when I saw that fabric tutu I secretly yelled "Success!!!"  Ok maybe I screamed it far to loud and scared the dog and interrupted a ninja turtles movie (for which I got very dirty toddler stares)...but it was perfect!  It's seriously just so easy and simple and perfect to use up all those fabrics I've been hoarding.  I also made a simple applique of Minnie on a tee to match.  It's more for dress up and fun...but I think it's just so sweet!


So glad I decided to make it smaller halfway through.  That girl is petite!!

I party with Remodelaholic

Wednesday, January 2, 2013

2012 In Review

Well kids, here we are at the beginning of 2013. It is utterly mind bottling how fast time flies, but even more so when you're chasing crazy lunatics around your house. Let's kick off 2013 with a quick look at the awesomeness we created in 2012. It's always a good motivator to see that you did more than just sit on the couch, watching Friends re-runs, eating Cheetos. 

Here we go:

In JANUARY, we both started Etsy shops
Lani has LEMON SQUEEZIES:


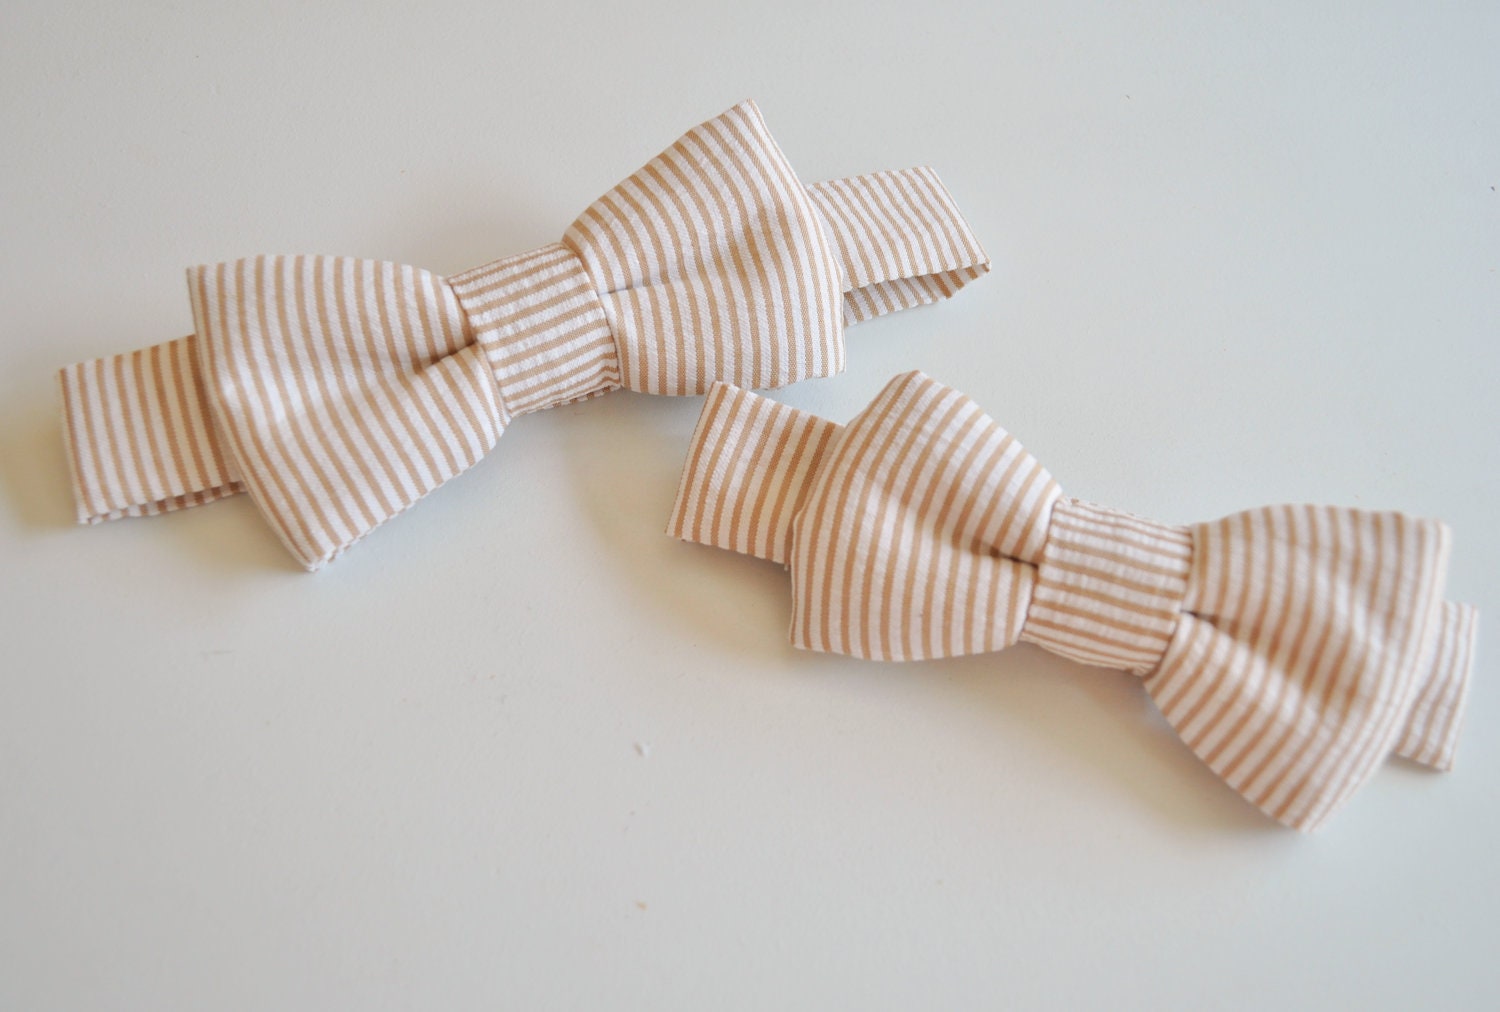
Super cute, right?! From bow ties to capes, she's got you covered! I don't know about you, but I need a turban headband for the days when my bangs need some taming.


An then there's PAPER MONKEY:


Need a cute paper banner or book page apple to spruce up your decor? Check it out! The paper flower clips are great for a little girl's hair, or your blazer's lapel.


FEBRUARY it was time to get our butts in gear:
Lani started her Master Bedroom makeover with a coat of paint on the walls.

And I did a little refreshing of our Living Room throw pillows by making a few new pillow covers:


MARCH


APRIL
Lani threw Jagger a very colorful birthday party:

And we made Will an Iron Man trike for his birthday:


MAY
I tackled a friend's living room wall with a picture frame collage. I think it's my favorite one I've done.


JUNE
We got painty with a new wall color in the living room:

And Lani got crafty with some adorable teacher's gifts for the end of the school year:


JULY
Lani got down to the nitty gritty and tiled her Master Bathroom floor:
You can check out the process here, here, here, and here.


AUGUST was a big month for us. Lani and I both went back to work full time. Talk about a big adjustment for us and our families and our DIY schedules. HA! But the day before I started my new job, I decided to paint my Master Bathroom:

And Lani's Master Bedroom revamp kept on truckin' with this fab rug upgrade:


SEPTEMBER was a time for more Master Bedroom and Bathroom upgrades. Check out Lani's progress:
A little Martha Stewart Garbadine goes a long way:


OCTOBER was a busy month, and maybe a little too busy because we didn't have much going on over here on the blog-front. We did have our first trip to the ER for a broken finger:

You can definitely count on us to keep it real around here. First trip to the ER, first cavity fillings (yes, PLURAL fillingS), and 1st day at preschool. Talk about a traumatic parenting month...


NOVEMBER
We got a lesson in accessorizing:

I tackled another subway art:

And painted my kitchen...again:


DECEMBER was very merry for us from a Pottery Barn NOEL sign knock-off:

To a super adorable Hot Chocolate Bar:

And we finished up the year with a yarn pom wreath:


You can definitely expect more awesome projects from us! Happy New Year!

XOXO,   
&

Wednesday, December 5, 2012

Yarn Pom Wreath

DSC01320I got a wild hair up me bum (Yes, I just became English. What?) to make a bunch of yarn poms while watching Michonne kick some may-jah zombie bum on The Walking Dead. I had a bunch of yarn that I’ve accumulated since, Oh, I don’t know… middle school?! Ridiculous. So I grabbed some colors I thought would work well together and just started wrapping and cutting. And then I wrapped and cut some more. And then some more.

Should I make a garland or a wreath or stick them in a few mason jars…? I wasn’t quite sure. My decision was made when I was putting some random junk away and found a naked wreath form. Ding-Ding-Ding! Winner Winner Chicken Dinner, folks. This is what we call a work-what-you-got craft for a whopping $0 cost.

I grabbed some supplies:
DSC01319
Yarn poms, wreath form, hot glue gun, extra glue sticks. Booya Grandma.

After debating on whether to group the colors together or do it haphazard, I decided I needed to just start it and see what happens…
DSC01323 DSC01324
DSC01325 DSC01328
It seemed like the best course of action was to just layer in each color. I started with the red and dark red since it is supposed to be Christmas-y, so I figured those colors should be the most dominant. I had ended up using the rest of the skein of dark red yarn to help fill out the red some more. I didn’t start off with whole skeins, but I ended up using up what I had left of every color on my wreath. Talk about using up what I’ve got!

65 poms later, it was done!
DSC01344DSC01333DSC01336Pretty cute, right? I’m a sucker for mindless crafts that you can do while you catch up on your dvr. This is totally one of those projects and came out so stinkin’ cute! I opted for red, dark red, teal, navy, yellow, and white, mostly because it’s what I had on hand and it was Christmas-y enough. The nice thing is that it will lend itself to everyday use or I can add some fun embellishments to transform it for different occasions, too.

I toyed with the idea of adding a bow, but it was competing with the poms too much, and Hubby said no. So… decision made! Winking smile Sometimes husbands are right… sometimes.

signature

Monday, December 3, 2012

Holiday Craft: NOEL

It all began with Pottery Barn. A couple years ago I came across this crazy awesome NOEL sign in their Christmas décor. I died. I died again when I saw the price… $149?! WAY out of my price range, especially for something I’m going to have up for a month. Ouch.

Of course it was time to make one of my own. In true DIY-ness, it’s a fraction of the cost.

I made a trip to Joann’s and picked up some “fancy” wood letters. With my coupons in hand, the letters were even cheaper than advertised.

DSC01240

I had the chalkboard paint from another project or two, so that was free. I love having some chalkboard paint in my DIY arsenal because then it becomes part of the array of possibilities when I feel like randomly painting something… Do I paint it white, red, green, gold, or chalkboard it? So many choices!

DSC01243

I’ve had this little can of paint for a while now, I’ve used it for a few projects now, and even having to put 2-3 coats of paint on each project, it’s still over half full. Yes… I’m a half-full kind of gal. Winking smile

DSC01246
After 2 coats, I was done with the paint part. I let them sit for a few hours to make sure the paint cured up and tried to keep a nosey 3.5 year old away from my project… Oh, did you notice my Flat Rate Mailing Boxes under there? They’ve been very handy as splatter boards for spraying and brush painting. Yay free stuff!

DSC01247
After the paint was dry, you have to “condition” the chalkboard paint by doing a quick rub all over and then wipe it off. It helps get rid of that crisp black look too.

I was debating on how to fasten the letters together and then hang it… so Hubby stepped in and came up with these little helpers:
DSC01252
Picture hangers! We had a bunch of them and they held the letters together while giving me an easy means for actually hanging it on the wall. Win-win!

Easy Peasy! This little sign was done and hung!
DSC01294
Then I decided to give it a little chalk shading and make it pop a little more against the wall:
DSC01308Ta Da!
DSC01304Ok. One more glamor shot. Smile
DSC01314

Even our Elf on the Shelf, Iron Man, found a home there this week:
Yes… our elf is named Iron Man. I tried for at least Tony Stark, but no dice. Will loves Iron Man. There’s no way around it…

I love it. It’s so cheery above my kitchen sink. I love that I can change it up and maybe do a little bit of candy cane stripes on there, or little stick figure people or who knows!

Have you made any fun new holiday decorations? Or did a cool knock off of something you love but is way over priced? Share! Share! We love to see those fun crafty DIY things!

signature

Related Posts Plugin for WordPress, Blogger...
 

Blog Design by Eedee Design Studios